前言
由于 Quill 在近期项目中的实践,特此写了这篇文章。从使用场景、基本原理,再到对 Quill 的扩展,跟大家分享 Quill 富文本编辑器的那些事儿。
使用场景
- 文章博客
- 聊天框
- 评论
- ...
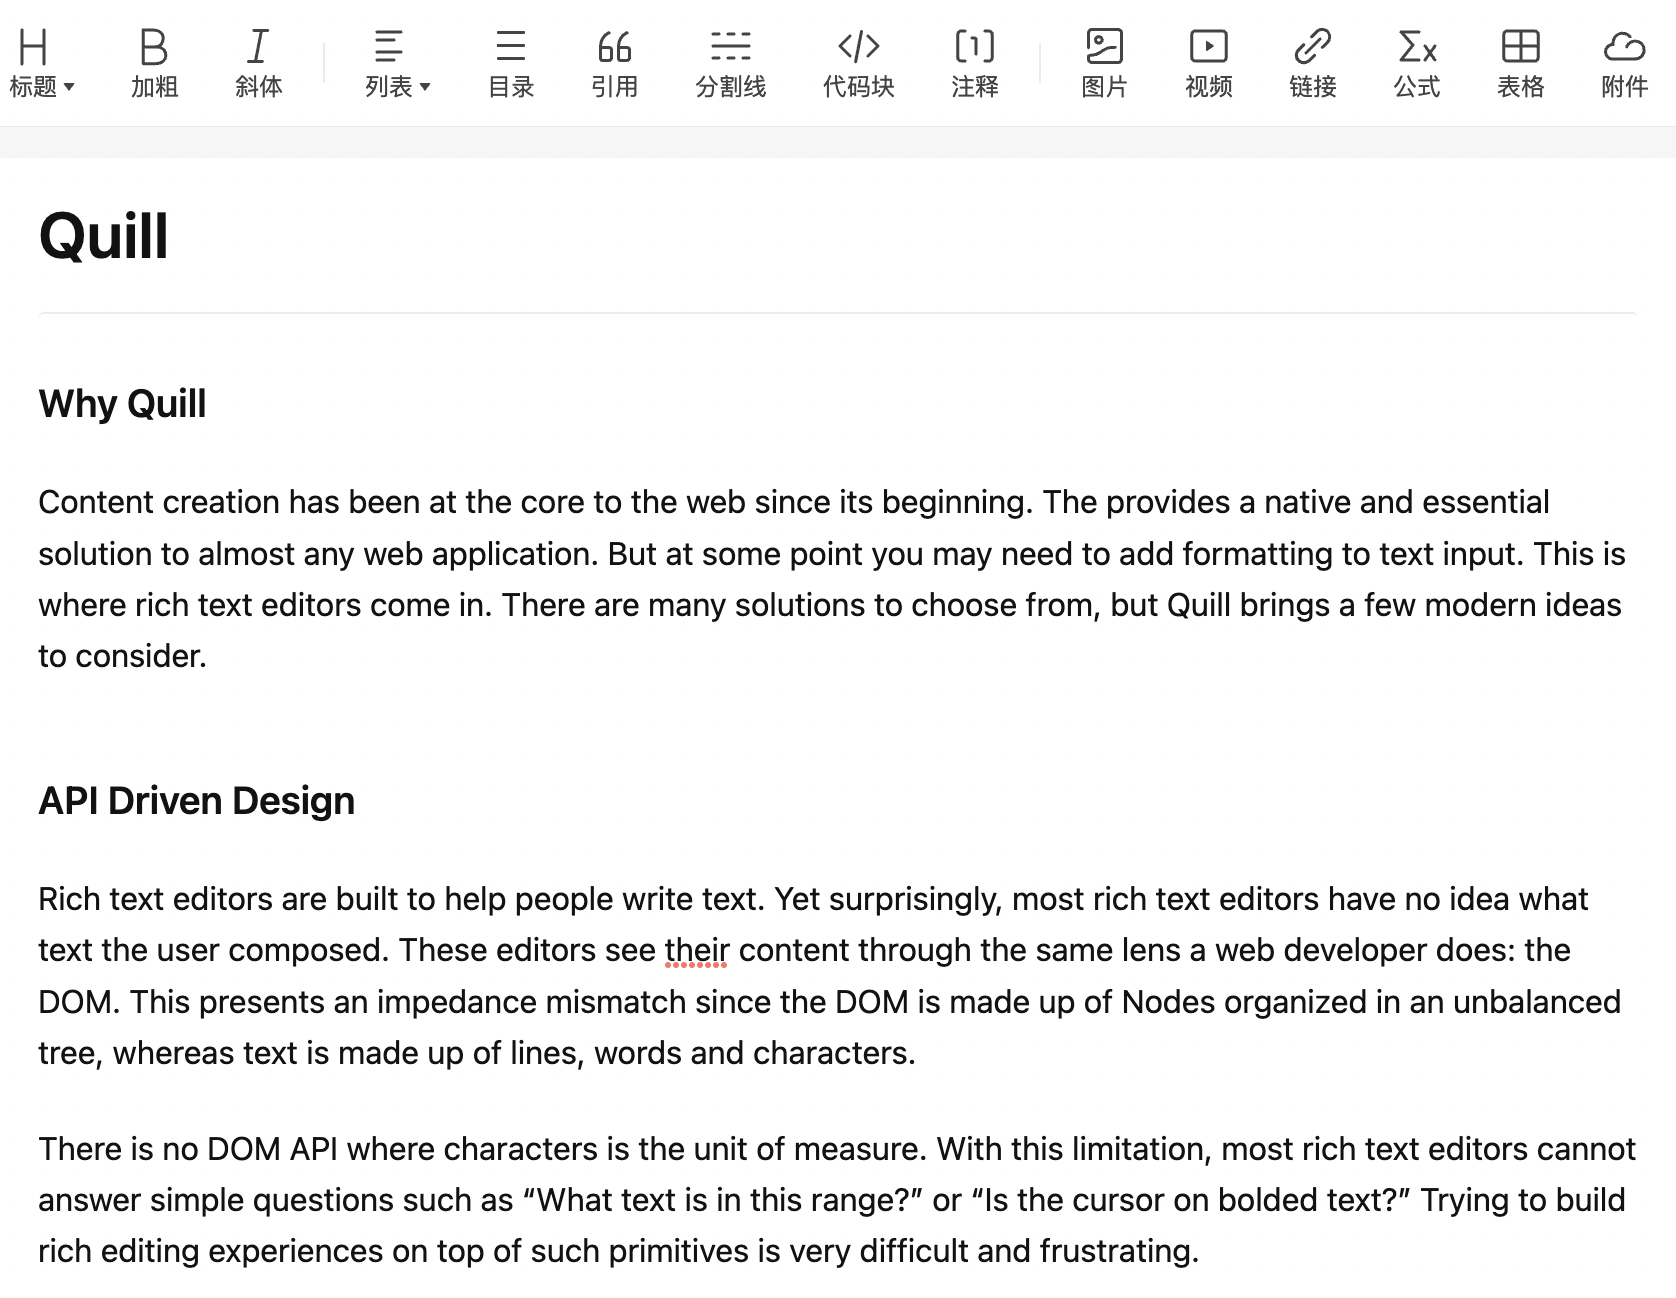
基本原理
Quill 有两个核心的概念 Delta 和 Parchment Blot。
Delta
Delta 是一种特定 JSON 格式的数据模型,用来描述内容的变化。所以有了 Delta 数据,就能知道编辑器的内容。可以参考 Quill 文档中 Delta 的描述。

{
  "ops": [
    { "insert": "Hello " },
    { "insert": "World", "attributes": { "bold": true } },
    { "insert": "\n" }
  ]
}
Parchment
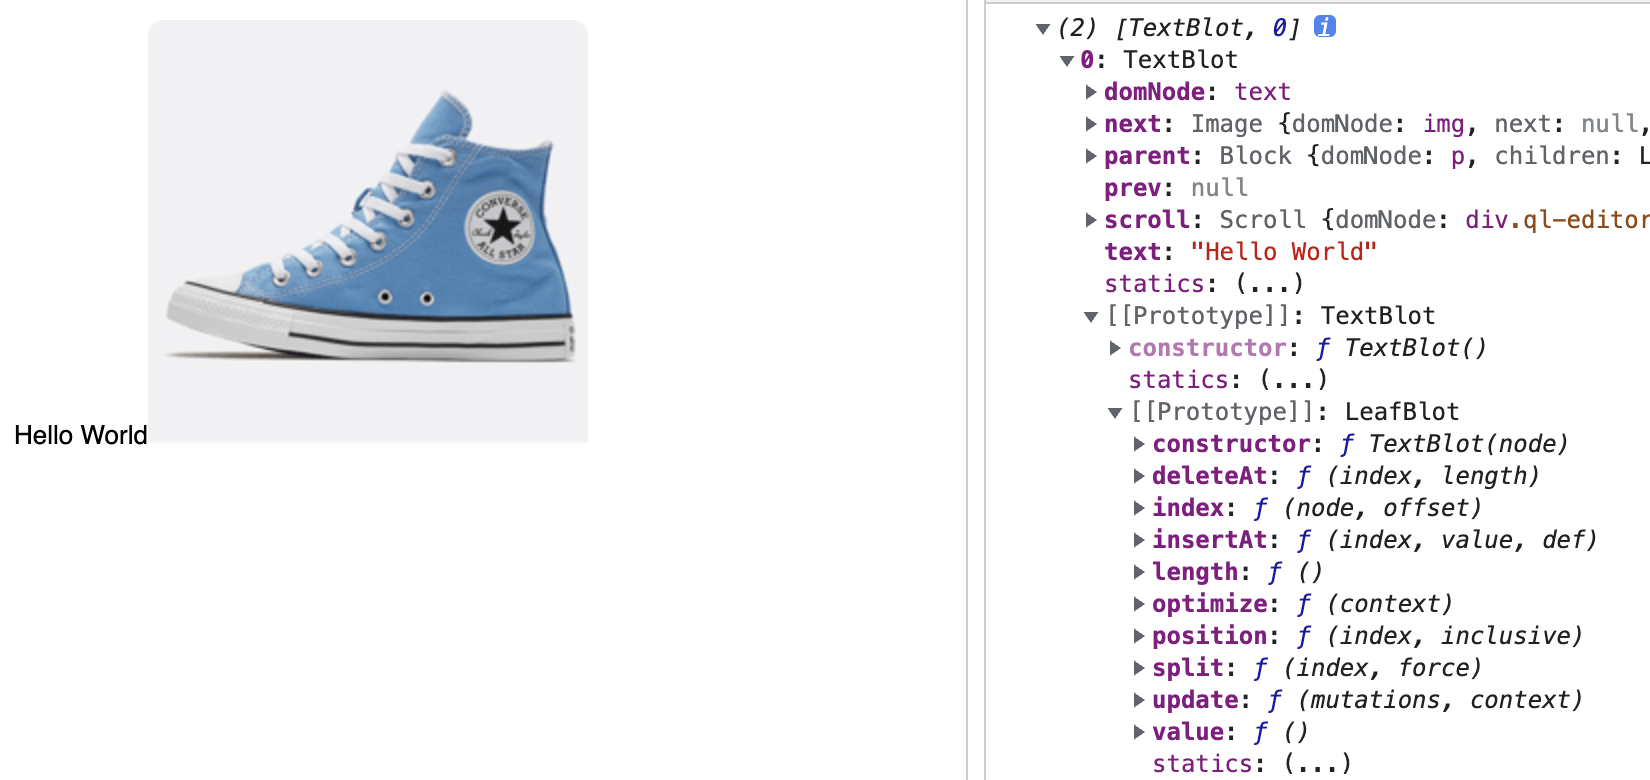
Parchment is Quill's document model. It is a parallel tree structure to the DOM tree, and provides functionality useful for content editors, like Quill. A Parchment tree is made up of Blots, which mirror a DOM node counterpart.
Parchment 和 Blot 是对 DOM 的模拟。Blot 相当于 Node,它包含了很多 Quill 富文本操作需要的 API ,这些是原生 DOM API 没有的。
扩展能力
扩展性是编辑器的重要能力。
在使用编辑器时不仅仅有图文,往往还有个性化的需求,比如以下场景。
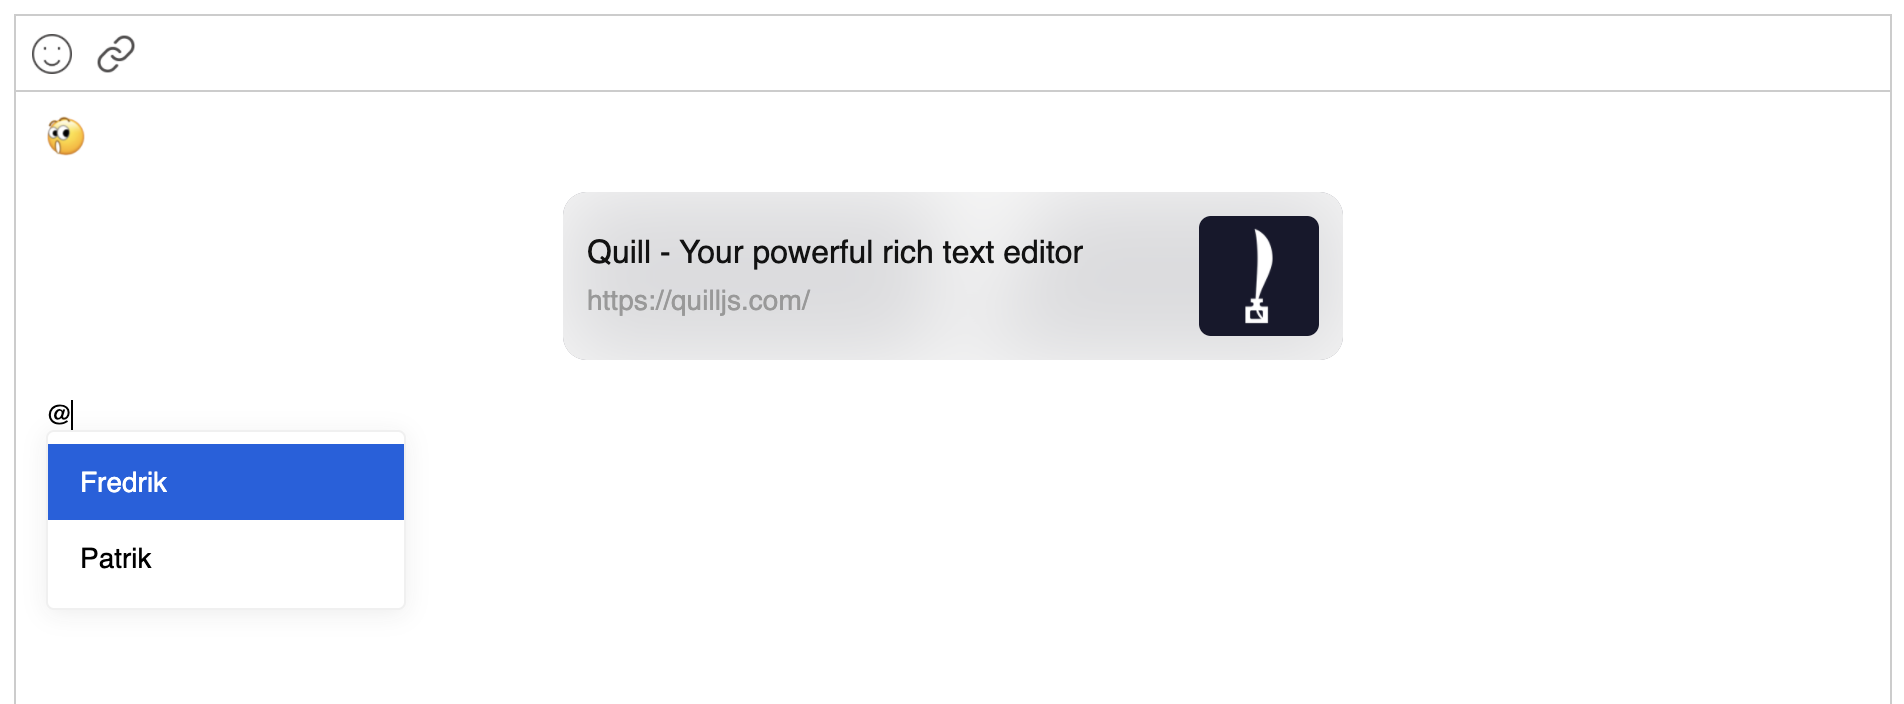
超链接卡片
比如插入知乎这样的超链接卡片。

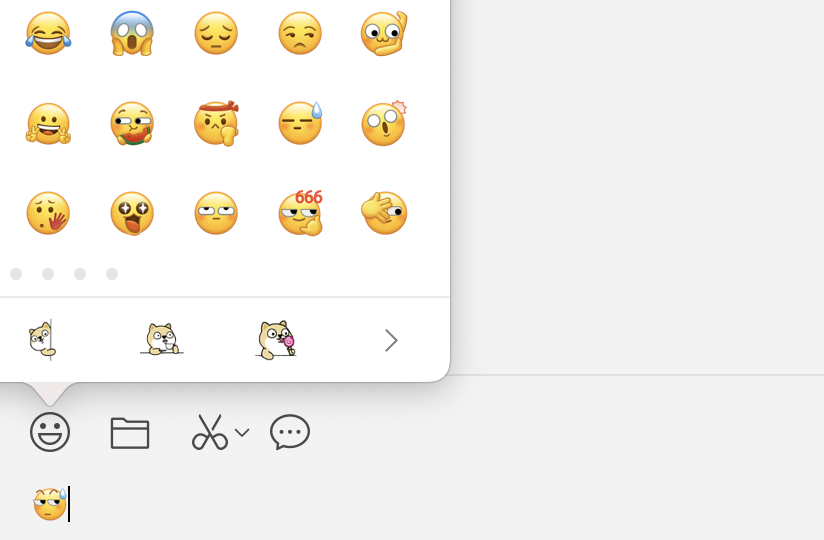
插入表情
比如在编辑器中插入表情,类似微信的聊天框。
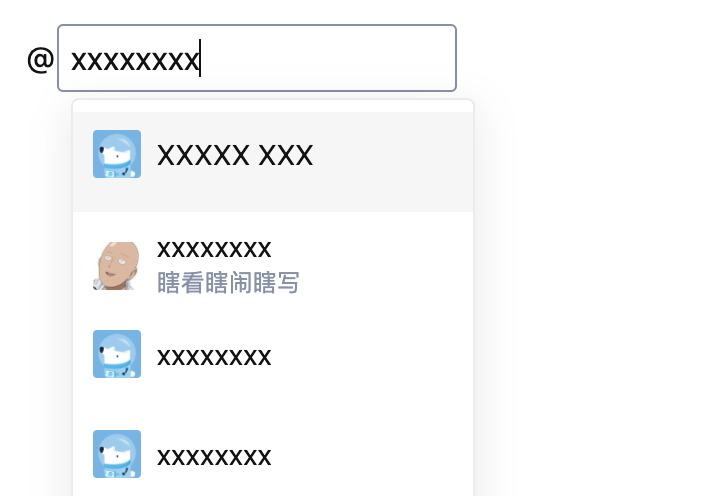
提及功能
社区评论中常见的提及(@Mention)功能。
扩展实现
扩展 Quill 的方式:
- 通过自定义 Blot 格式来扩展编辑器的内容。
- 通过自定义模块来扩展编辑器的功能。
如何插入表情
我们从如何插入表情入手,一起看看怎么在 Quill 中插入自定义的内容。
- 自定义工具栏按钮
- 自定义 EmojiBlot
- 注册 EmojiBlot
- 调用 Quill 的 API 插入表情
自定义工具栏按钮
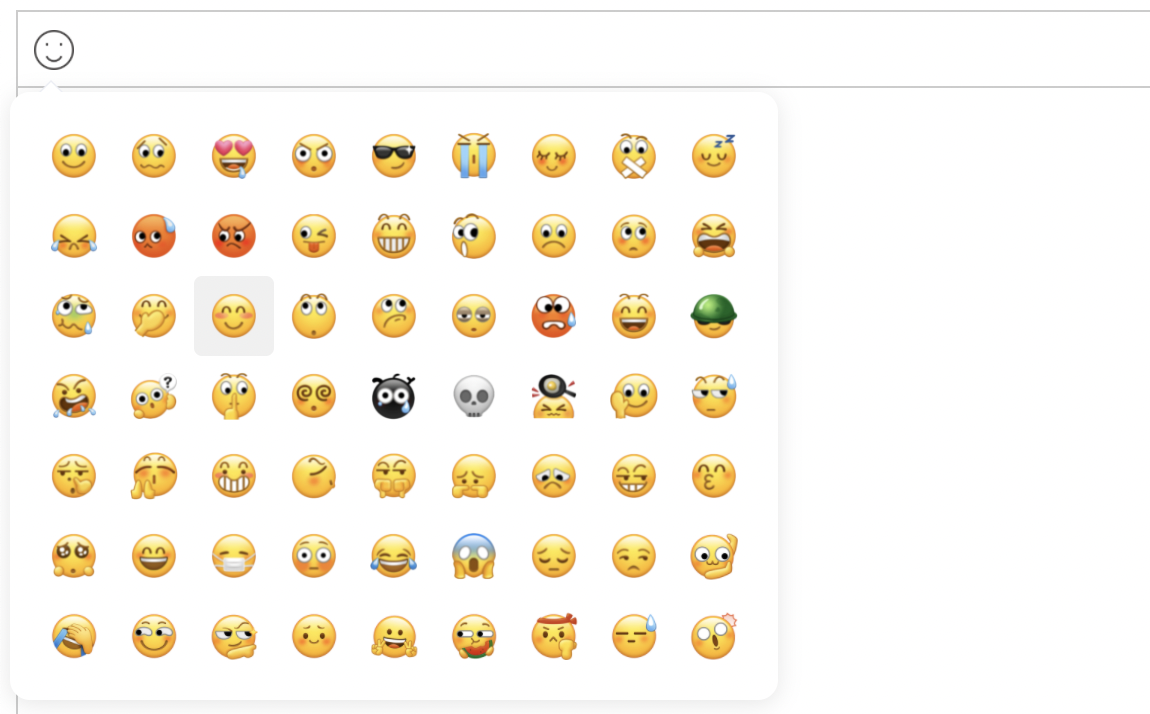
参考微信的表情选择面板,所以需要我们自定义 emoji 工具栏按钮。
// emoji-tool.vue
<template>
  <span class="editor-tool-emoji">
    <el-popover ref="popover">
      <span v-for="(item, i) of emojis" :key="i" @click="onSelect(item)">
        <img :src="item.src_ios" :alt="item.code_cn" />
      </span>
    </el-popover>

    <img src="../assets/emoji.png" v-popover:popover />
  </span>
</template>

<script>
// [{ "code": "[Smile]", "code_cn": "[微笑]", "src_ios": "https://emojipedia-us.s3.amazonaws.com/content/2021/02/14/emojipedia_wechat_ios_802_smile.png", "src_android": "" }]
import emojis from '../assets/wechat-emojis.json'

export default {
  data () {
    return {
      emojis,
    }
  },

  methods: {
    onSelect (item) {
      this.$emit('select', item)
      this.$refs.popover.doClose()
    }
  }
}
</script>
在自定义的 toolbar 中使用 emoji 工具栏按钮。
<template>
  <div id="editor">
    <div id="editor-toolbar">
      <emoji-tool />
    </div>

    <div id="editor-container"></div>
  </div>
</template>
this.quill = new Quill('#editor-container', {
  theme: 'snow',
  modules: {
    toolbar: '#editor-toolbar',
  }
})
效果如下:
自定义 EmojiBlot
Quill 中的 Blot 是一个普通的 ES6 Class,由于表情和图片的差别就在于:
Quill 内置的图片格式不支持自定义宽高,而我们要插入的表情是需要特定的宽高的。
因此我们可以基于 Quill 内置的 ImageBlot 来扩展。
// emoji.js
import Quill from 'quill'

const ImageBlot = Quill.import('formats/image')

// 扩展 Quill 内置的 ImageBlot
export default class EmojiBlot extends ImageBlot {
  static tagName = 'img' // 自定义内容的标签名
  static blotName = 'emoji' // 自定义 Blot 的名字(必须全局唯一)
  static className = 'emoji'

  // 创建自定义内容的 DOM 节点
  static create(value) {
    const node = super.create(value)
    node.setAttribute('src', value.src)
    node.setAttribute('alt', value.alt)
    node.setAttribute('style', 'vertical-align: bottom;pointer-events: none;')
    if (value.width !== undefined) {
      node.setAttribute('width', value.width)
    }
    if (value.height !== undefined) {
      node.setAttribute('height', value.height)
    }
    return node
  }

  // 返回 ops 数据
  static value(node) {
    return {
      src: node.getAttribute('src'),
      alt: node.getAttribute('alt'),
      width: node.getAttribute('width'),
      height: node.getAttribute('height'),
    }
  }
}
注册 EmojiBlot
有了 EmojiBlot,要将其插入 Quill 编辑器中,还需要将这个类注册到 Quill 中。
// index.vue
import Quill from 'quill'
import EmojiBlot from './formats/emoji'

Quill.register({
  'formats/emoji': EmojiBlot
}, true)
调用 Quill 的 API 插入表情
EmojiBlot 注册到 Quill 中之后,Quill 就能认识它了,也就可以调用 Quill 的 API 将其插入到编辑器中。
onSelectEmoji (data) {
  const { index } = this.quill.getSelection(true)
  this.quill.insertEmbed(index, 'emoji', {
    width: '20px',
    height: '20px',
    src: data.src_ios,
    alt: data.code_cn
  })
  this.quill.setSelection(index + 1)
}
最终效果
demo 源码地址:https://github.com/jiangrubin/quill-demo
结语
最后再说一下对 Quill 使用后的感受。在开箱即用方面 Quill 做的不错,简单易用文档清晰,对一些基本场景都能够覆盖。但在个性化定制扩展方面,需要通过操作 DOM 的方式来实现,对习惯了 Vue 或 React 的开发方式,确实不太友好。
在写这篇文章时,发现了几款不错的富文本编辑器:
- Tiptap 基于 ProseMirror 封装的,专为 vue.js 打造,设计优雅,体验流畅舒服的现代富文本编辑器。
- Editor.js Next generation block styled editor 块样式编辑器 - 知识库内容编辑的未来。
